
Establishing SSH Connection on Microsoft Windows 7 and 10
If your OS is Microsoft Windows 7 and 10, follow the instruction for connecting over SSH:
To automatically initiate SSH connections you must install PuTTY and configure association between client the app and the SSH protocol. To do the latter it is advised to install WinSCP, which will perform necessary configuration changes. Both programs must be in their 32-bit versions.
- Download and install WinSCP.
<https://winscp.net/download/WinSCP-5.19.2-Setup.exe>
Verify the checksum value to make sure that the integrity of the binary file has not been compromised.
- Download and install PuTTY.
<https://winscp.net/download/putty-0.75-installer.msi>
Install PuTTY in the default installation location:
C:\\Program Files (x86)\\PuTTY\
During installation select default features set.

- Log in to the Access Gateway.
- Find desired account and server, hover your mouse over to show more options.
- Select the Native client button.
- Select the listener, via which you want to connect.

- Click Connect to launch client application appropriate for selected listener with connection parameters forwarded.
- In the Launch application select
WinSCP:SFTP,FTP,WebDAV and SCPand click Open.
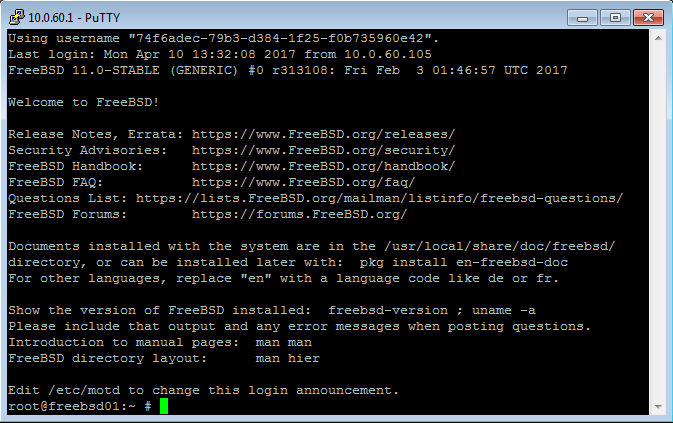
The connection is established.
Updated about 1 year ago