
Proxmox Installation with OVF file
Installing Fudo One from OVF file
- Create a new machine, using cores, memory and VM name as read from the OVF manifest, and import the disks to the local-zfs storage:
- Log in to a remote computer, for example, with
ssh 10.0.2.33and provide a password. - In the folder
fudo.installexecute a commandqm importovf <vmid> <manifest> <storage> [OPTIONS], for example:qm importovf 109 ./fudo-one-36271-release.ovf local-zfs
- Log in to a remote computer, for example, with
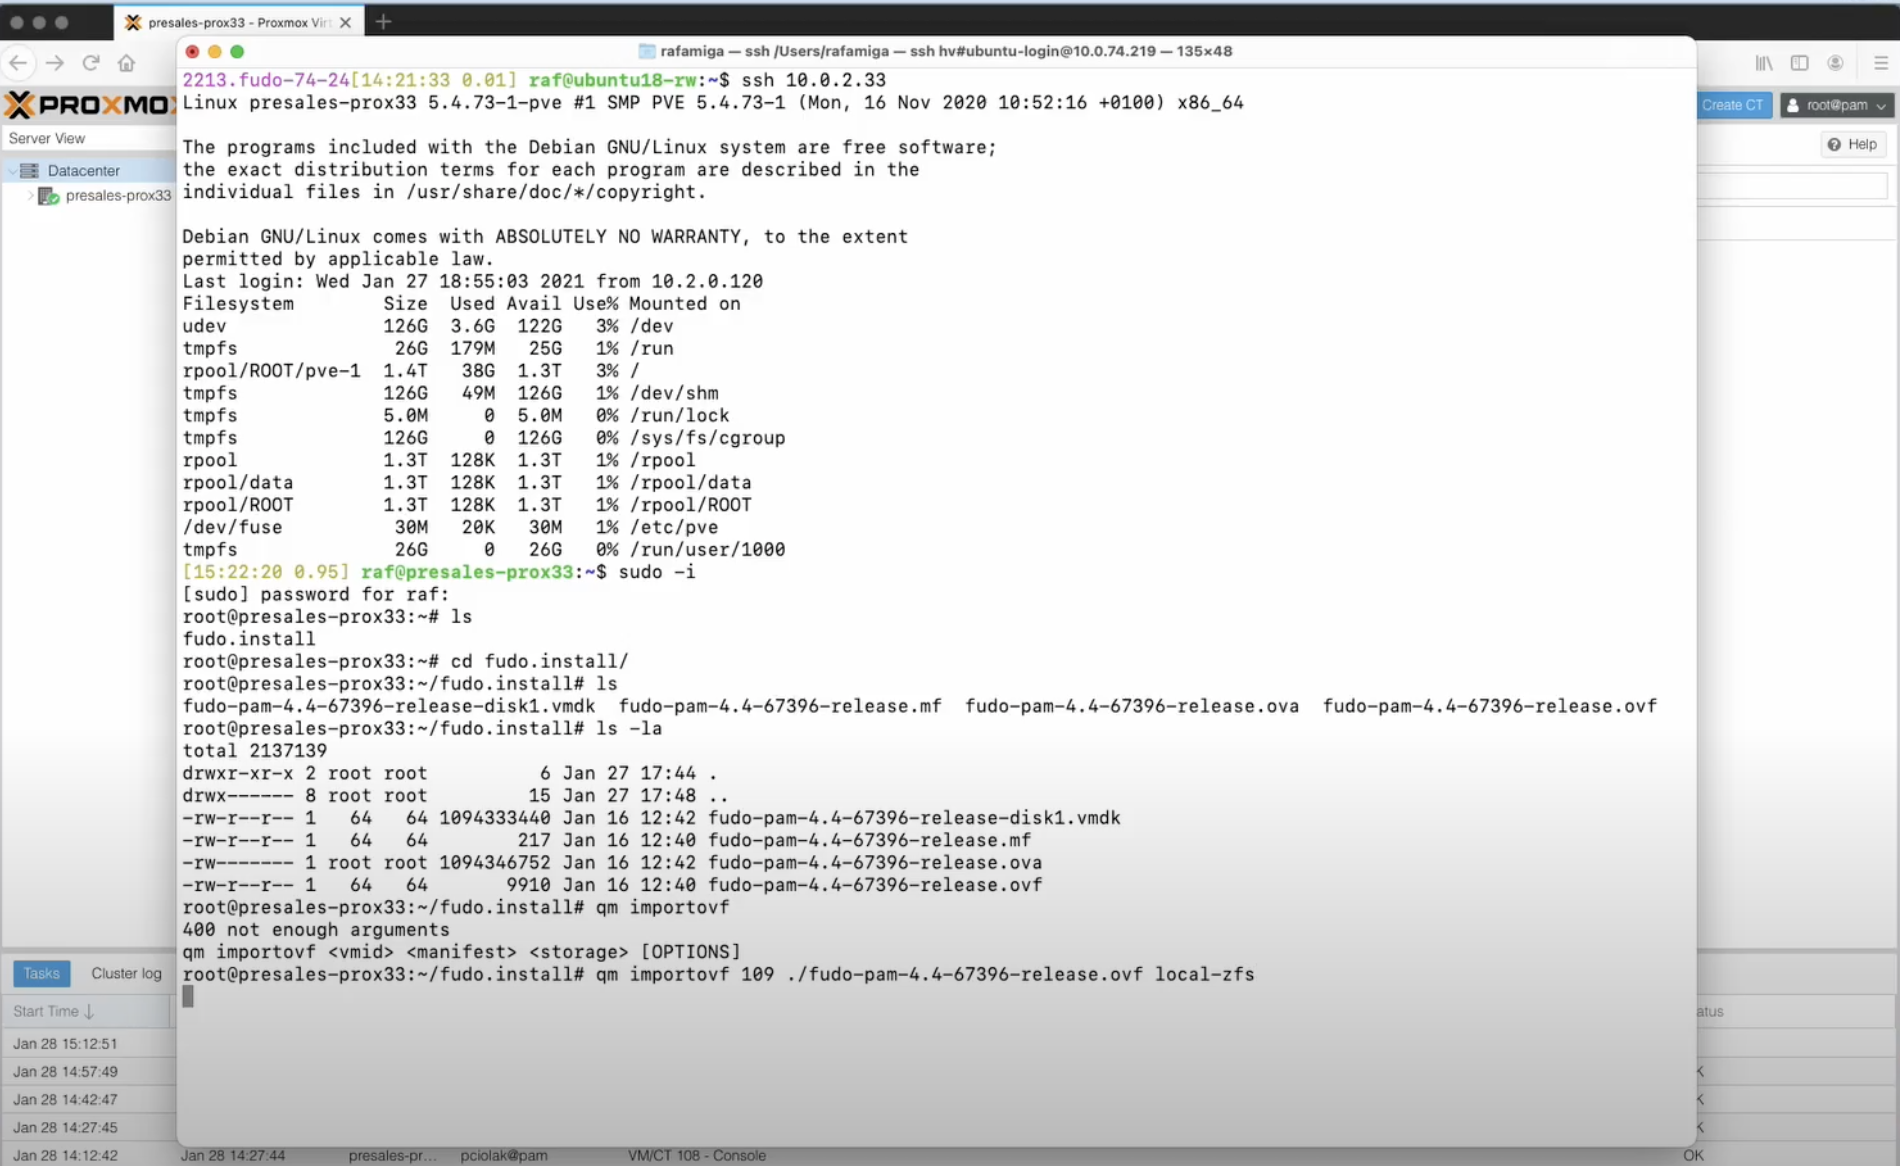
- Wait for the manifest data to be imported.
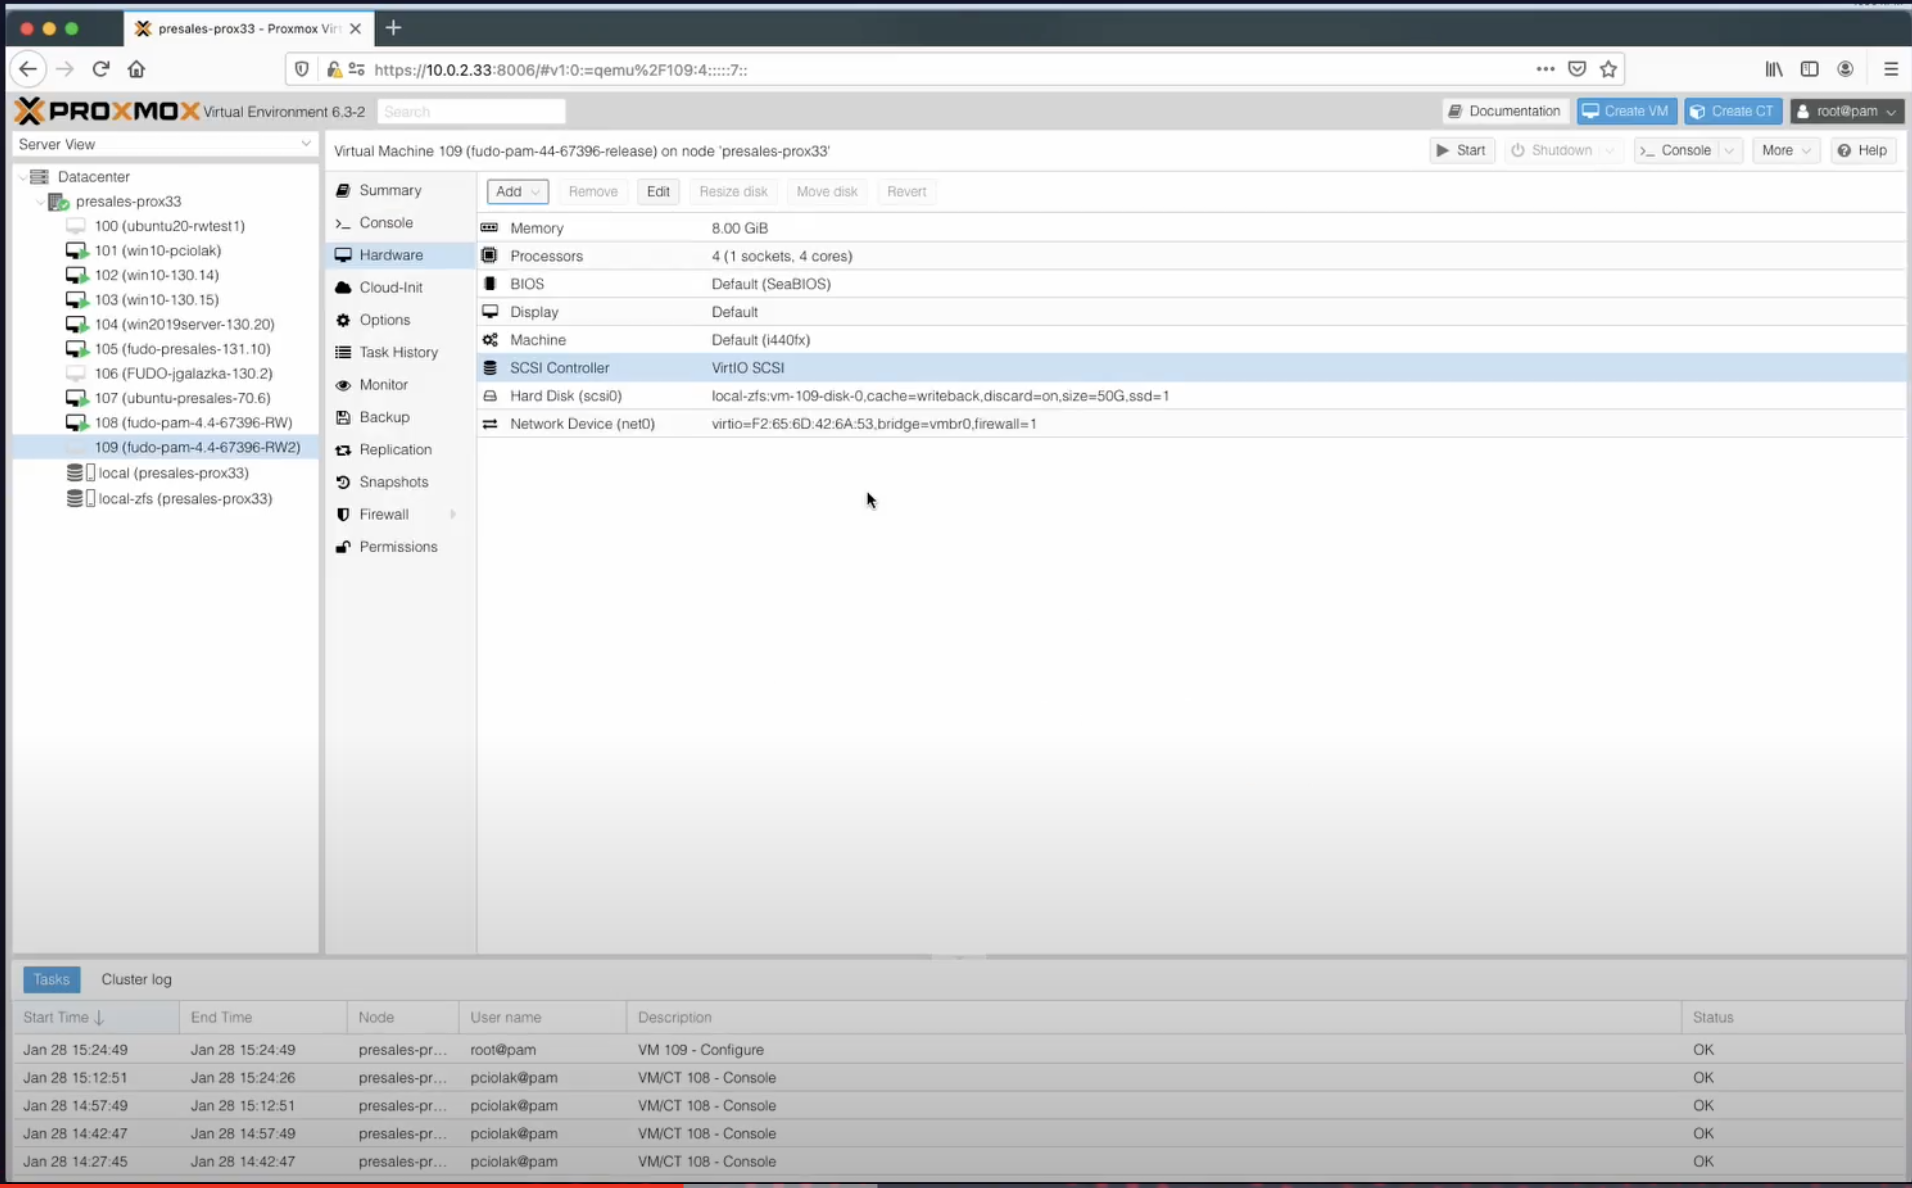
- In the Proxmox client find your server and open settings for your
109 (fudo-one-36271-release)virtual machine. - In the Hardware section, change the Hard Disk options into the
Write backcache, and in Advanced section check the SSD emulation option, then the Discard option. Click OK. - In the SCSI Controller section, select the
VirtIO SCSIoption as a SCSI controller type. - Add a new Network Device and in the Model field select the
VirtIO (paravirtualized)option.
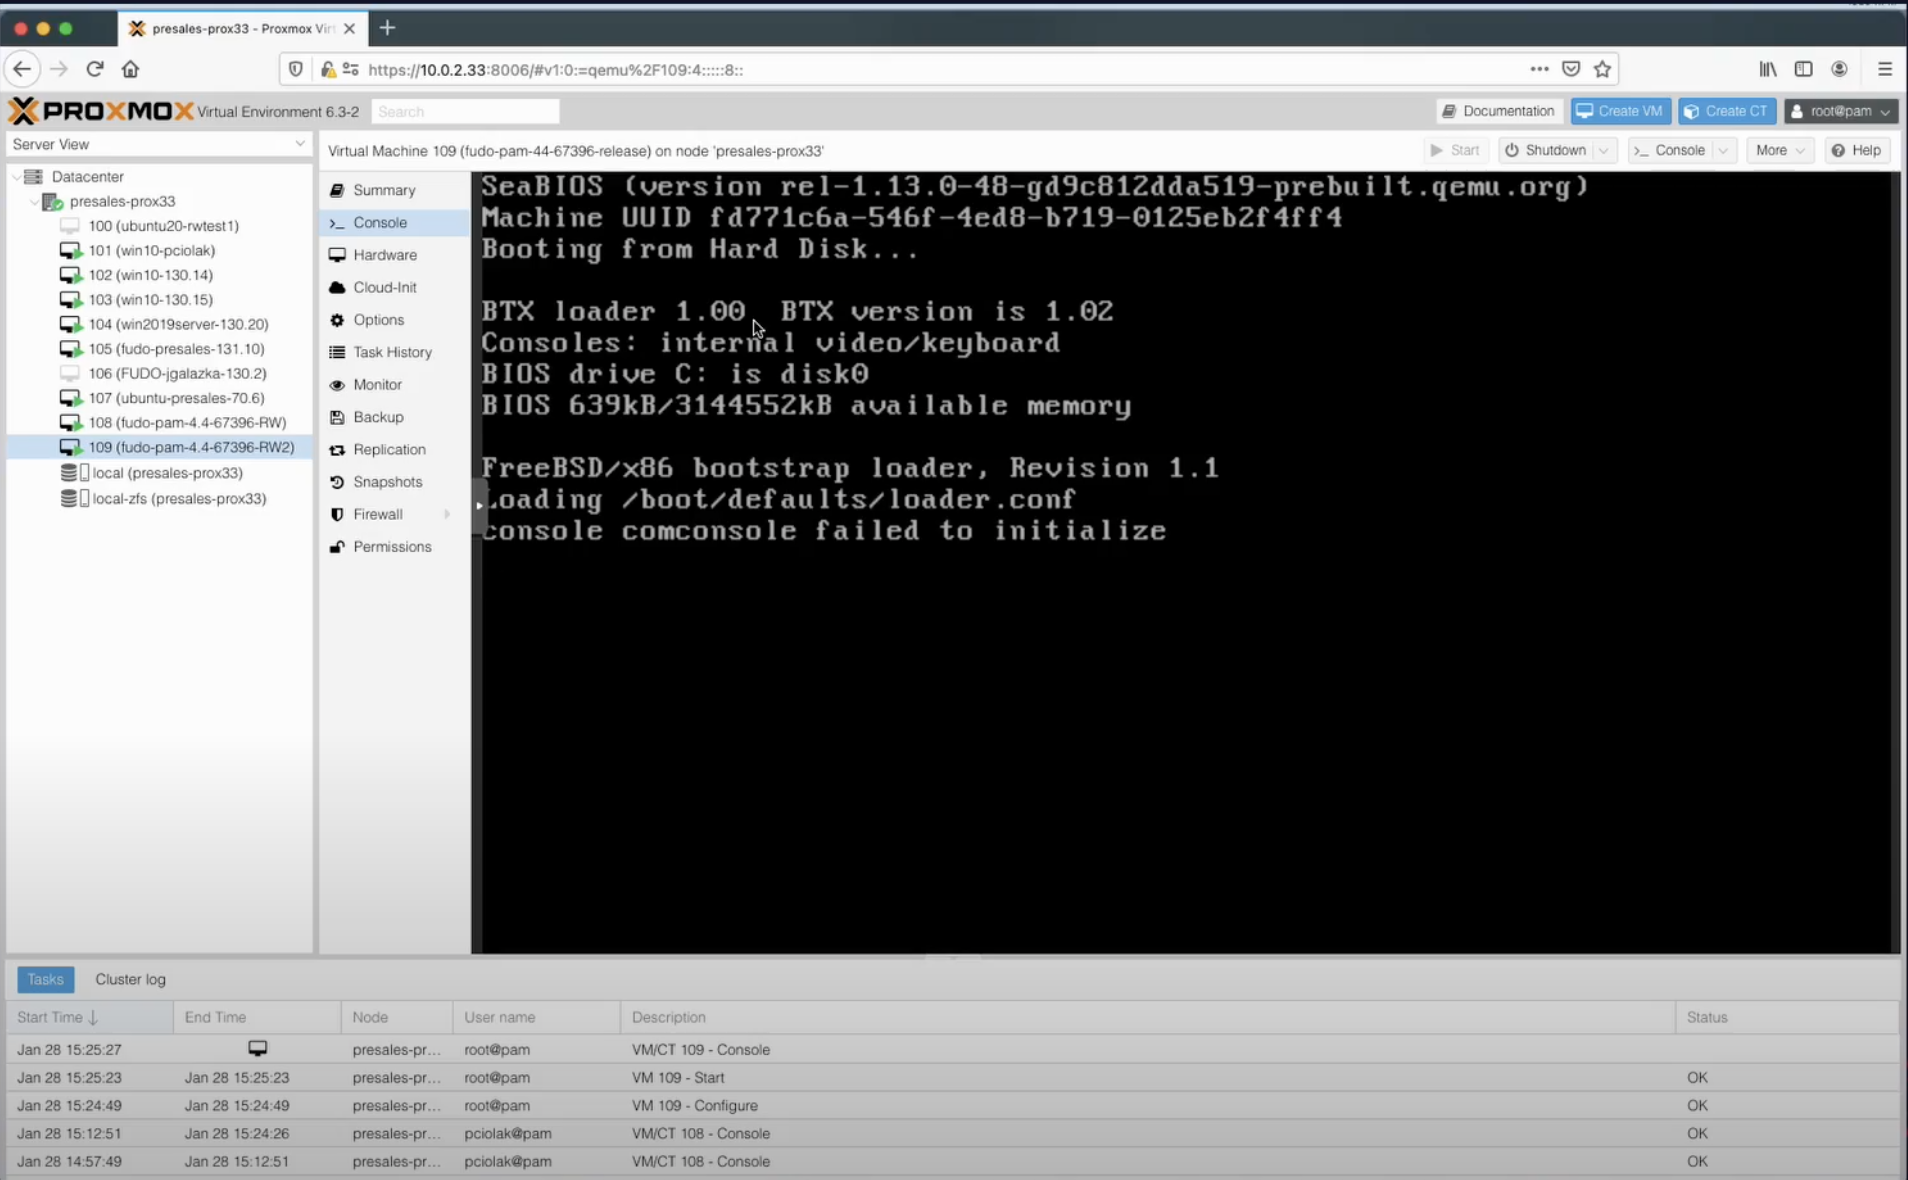
Initiating Fudo One
- Click the Start option.
- Go to the Console.
- Select the region and city by providing respective codes and confirming your choice.
- Enter date and time in
DD.MM.YYYY HH:MMformat. - Sign in as an administrator using default credentials to set the network configuration.
Default Credentialslogin: admin
password: proxycrypto
- From the list of the Fudo configuration utility, select the option
3to reset network settings. - Select new management interface from the list of available interfaces.
- Enter new IP address and netmask for selected interface, which will be used to access the Admin Portal (e.g.,
172.16.30.10/24). - Enter new default gateway IP address, which will be used to access the Access Gateway (e.g.,
172.16.30.11).
Well Done!Your Fudo One instance has been successfully initiated! Now, you can enter the registered IP address in your browser and start with Initial Fudo One Configuration.
Updated about 1 year ago